LANDSCAPE + HARDSCAPE
LANDSCAPE + HARDSCAPE
LANDSCAPE + HARDSCAPE
This PDF was last updated on 04/09/2024. Please redownload if you’re currently working from an older version.
The Basis of Design (BOD) specifies performance criteria and provides sample products for your reference. The sample products noted are not required to be used in new construction projects as long as alternate products meet all the necessary criteria.
WHEN TO USE THIS BASIS OF DESIGN SECTION:
This BOD section should be used during new construction and rehab projects as a guide for Landscape Architects, Civil Engineers and during ongoing property maintenance for landscape and hardscape. When installing any new plants, landscape contractors should guarantee plants for one year and should be responsible for all watering and fertilizers necessary for establishing. The guarantee should cover replacement plants and removal of dead materials.
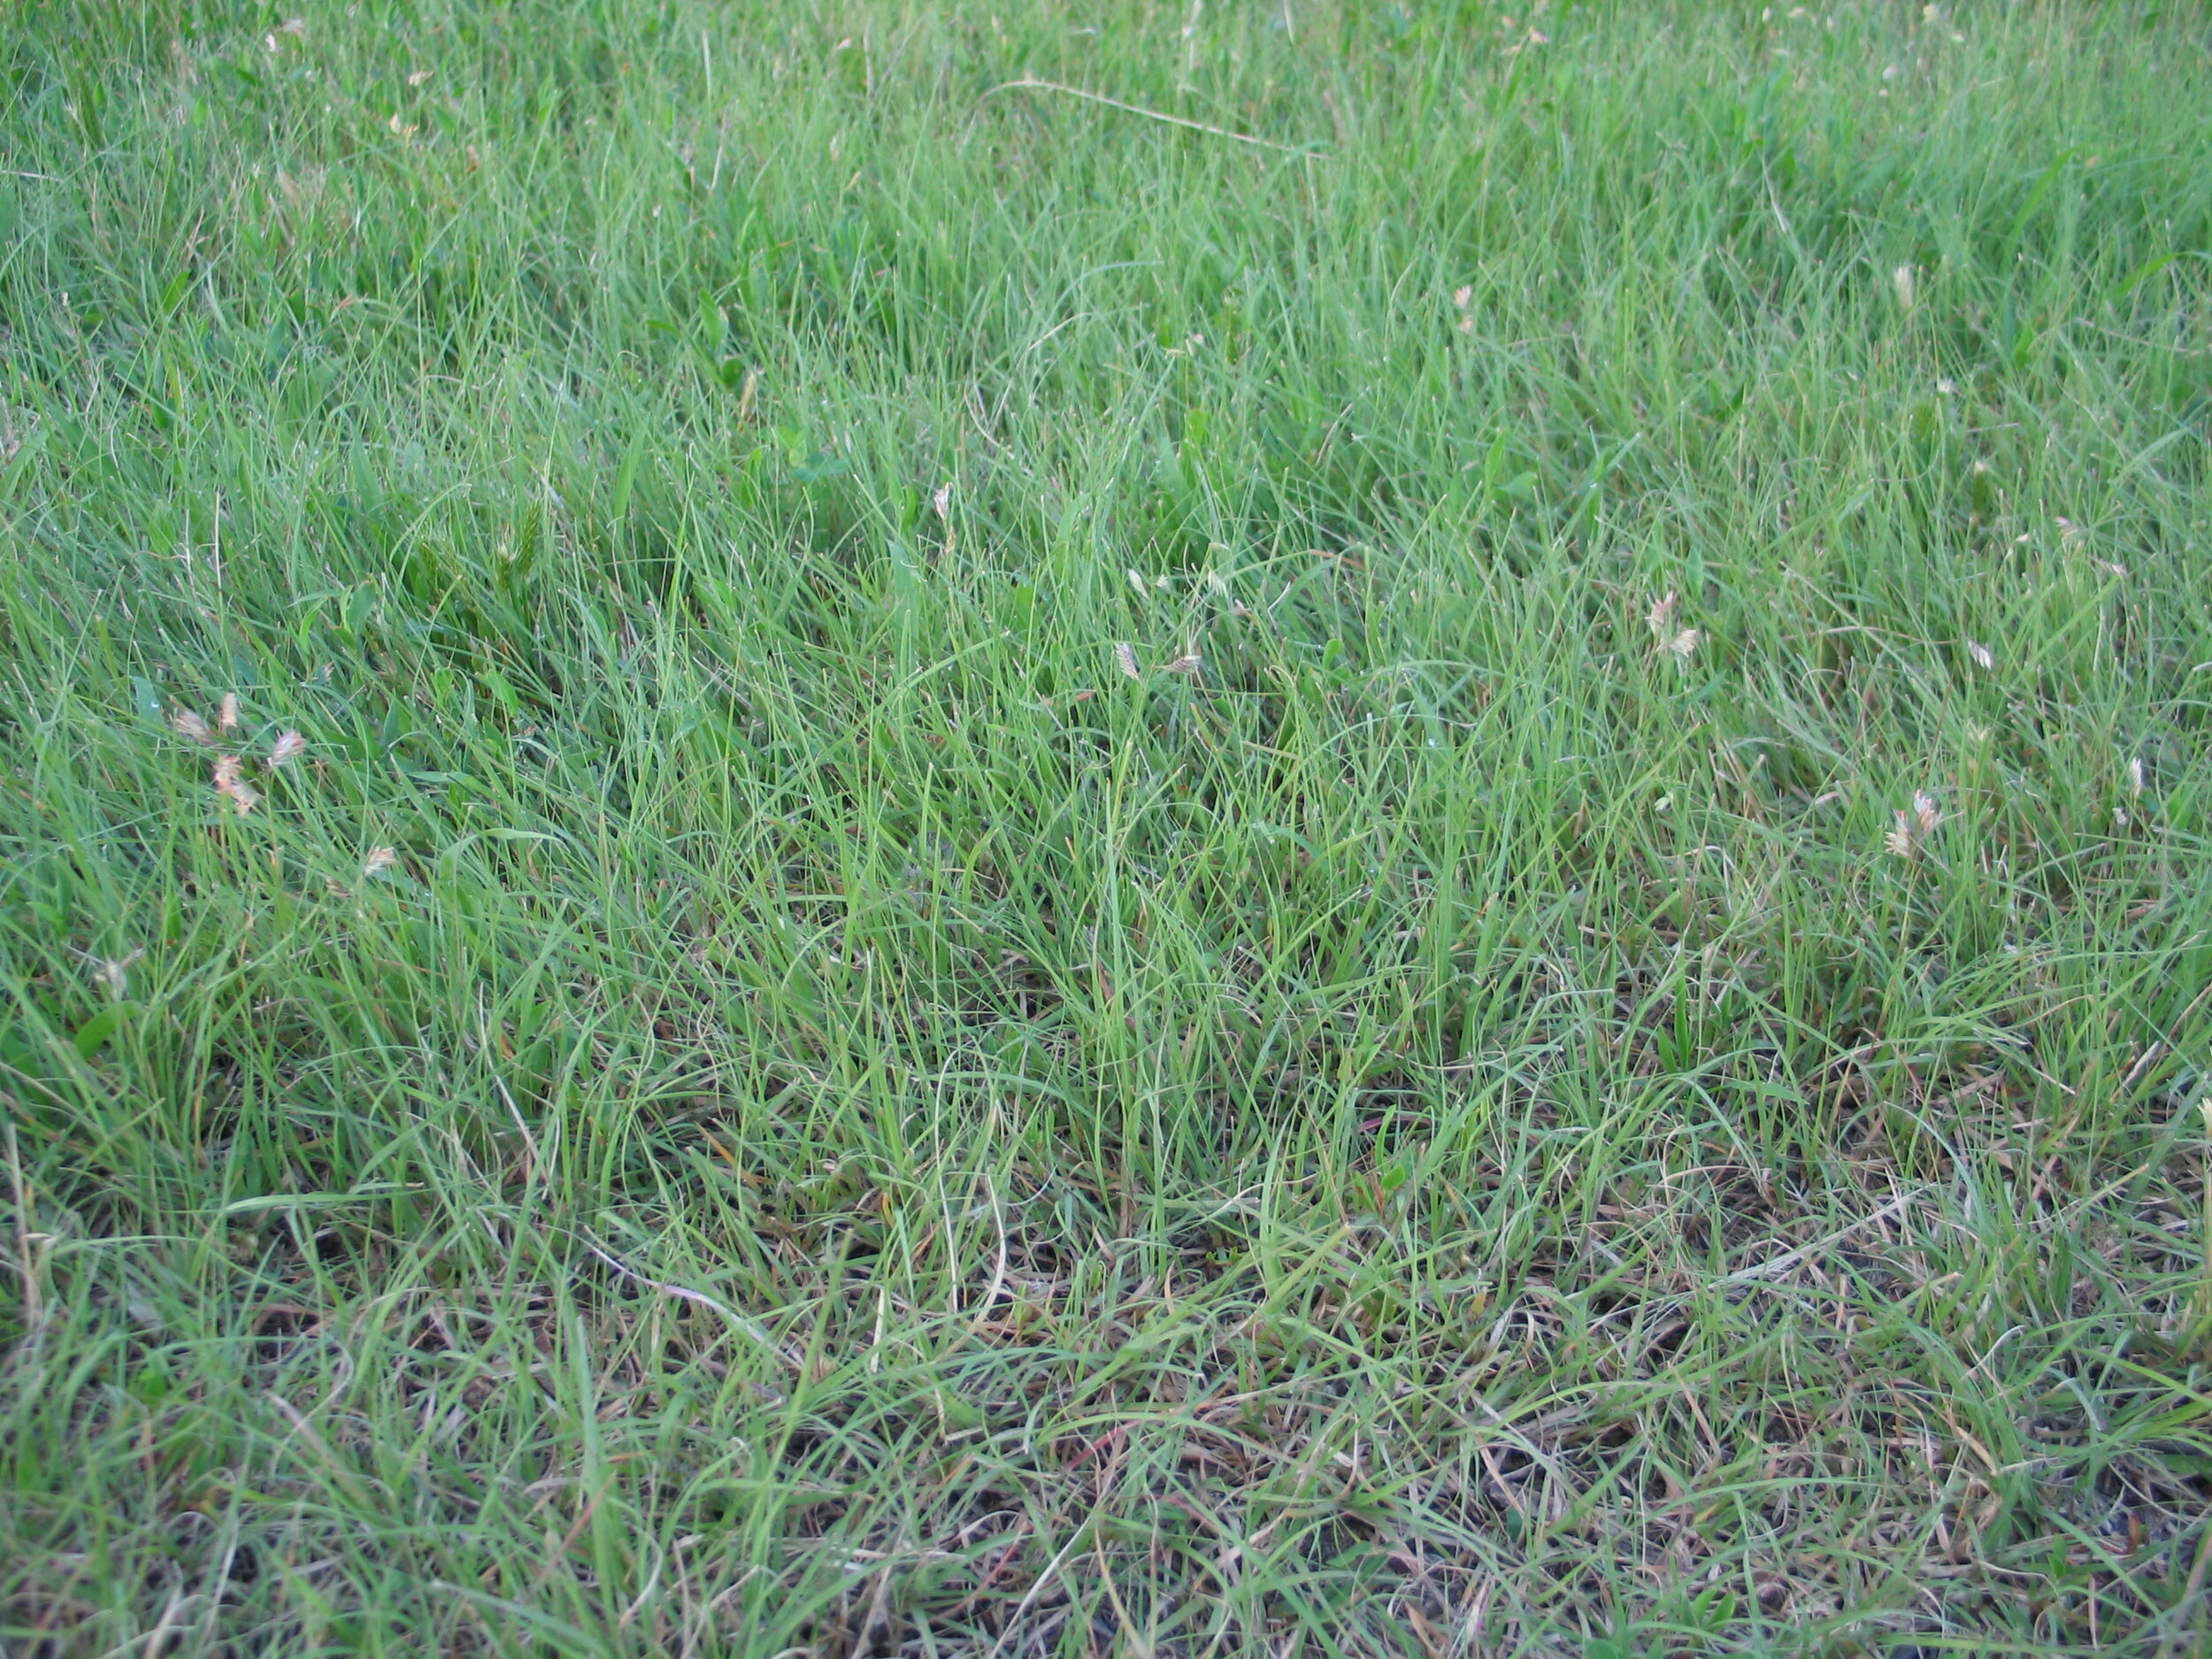
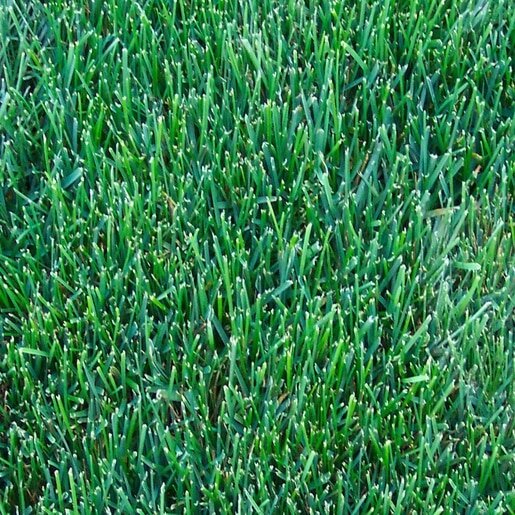
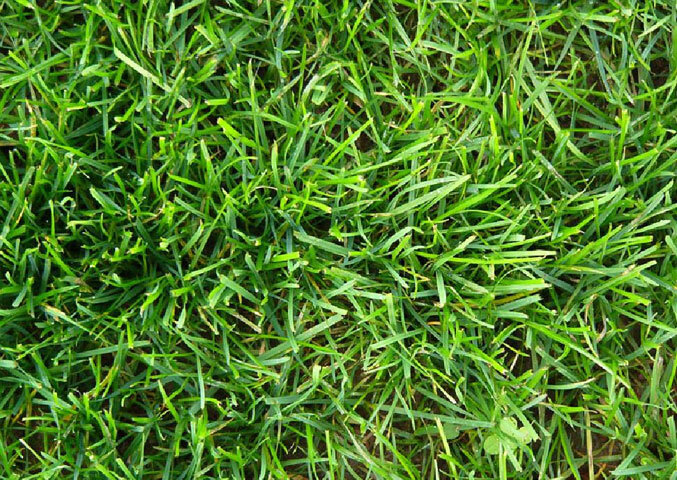
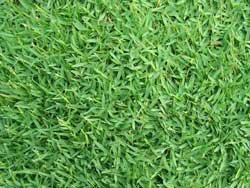
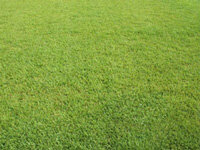
SOD
SOD
SOD

GENERAL INFORMATION & REQUIRED DETAILS:
Use regionally appropriate seed mixes.
Consider low maintenance, shade and drought tolerant species.
Refer to irrigation section on how to water effectively.
Metal edging is only required between crushed granite or gravel and sod/plants.
Mowing:
Mowing blades should be set at 2.5-3 inches.
Make sure landscape contractors do not mow or manicure any “nature-scaping” zones which are intentionally overgrown to benefit wildlife.
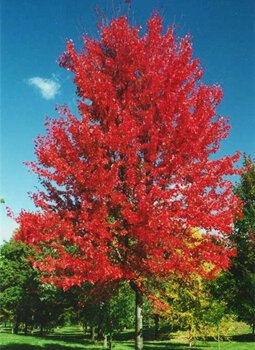
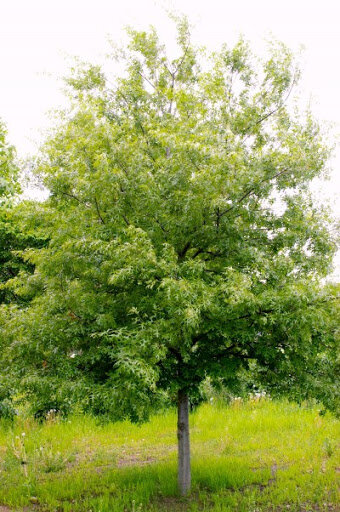
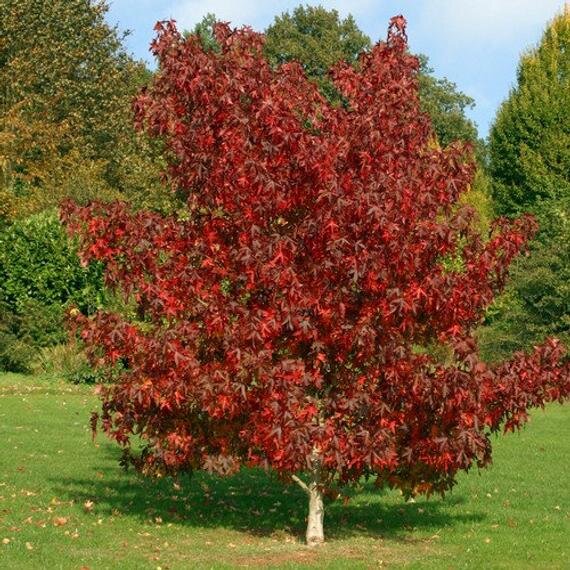
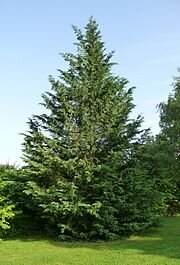
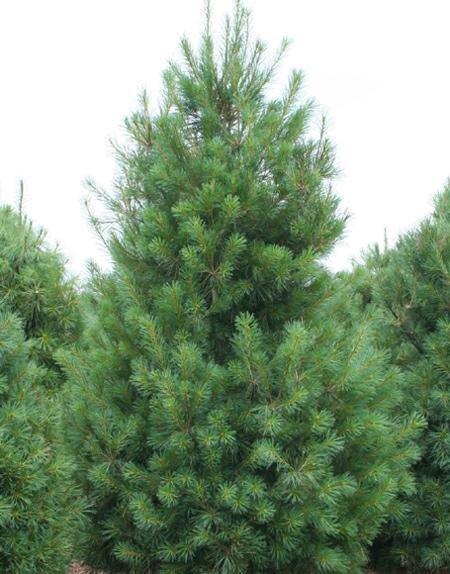
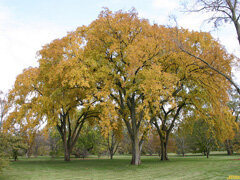
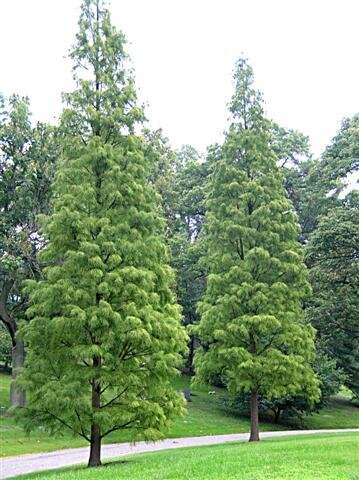
TREES
TREES
TREES
GENERAL INFORMATION & REQUIRED DETAILS:
Planting:
Plant trees minimum 3 feet from any curb or sidewalk and 6 feet from any building or structure.
Do not plant trees in an area where it will obstruct visibility to the building, signage, lighting or street traffic.
Trees planted in turf areas should install a 5 feet diameter mulch ring to allow for proper turf maintenance without disturbing the tree.
Install a minimum 3 inches layer of hardwood bark mulch around all trees and in all planting areas. Create a natural spaded edge where planting beds meet turf areas.
Consider size of tree at maturity when planting in relation to structures and pavement.
Use a mix of deciduous, semi-evergreen, and coniferous trees.
Pruning:
For extensive pruning across a property, hire a local arborist.
Prune in late winter before any new leaf buds have formed.
Never remove more than ¼ of a tree’s canopy in a season.
Remove broken, dead, dying, diseased, or damaged branches.
Never leave stubs when pruning. Cut along line C when trimming branches. For large branches, make cut A and then cut B to remove the bulk of the branch before making a clean cut at line C.
Maintain the following clearances from ground to lowest branches:
Trees along streets: 14 feet
Trees along sidewalks: 8 feet
Trees along parking lots: 12 feet
Trees in landscape: no clearance requirements


Leaves:
Leaves on lawn/grass: mulch/shred leaves using a mower rather than collecting them and removing them from the property. Mulching the leaves return nutrients back to the soil and helps a healthy lawn return in the spring. If a landscape contractor is hired to conduct the work, mulching should also save on removal fees.
Leaves elsewhere: collect leaves and mulch/shred them. Spread mulched leaves in planting areas around the property.
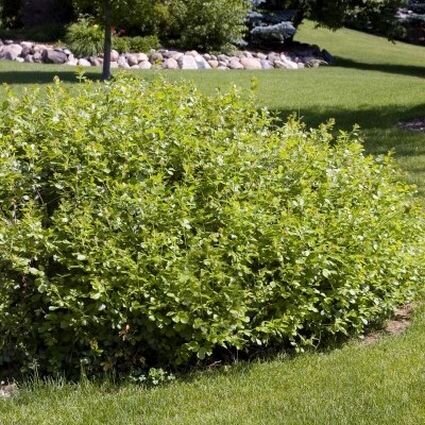
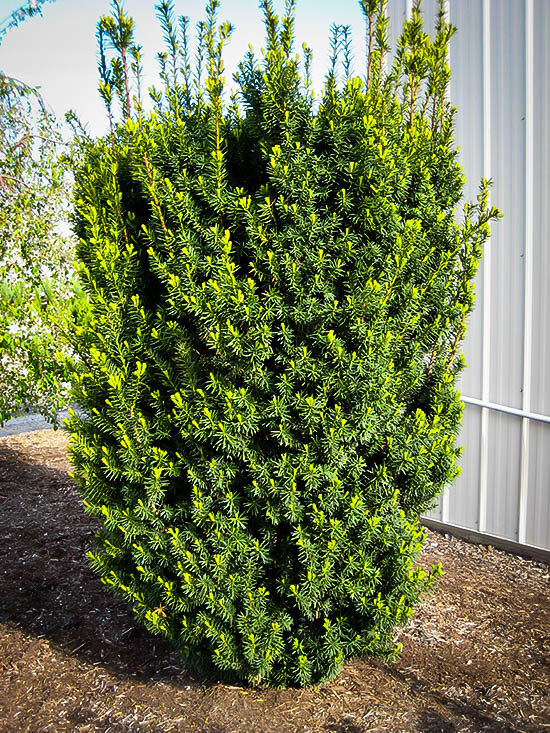
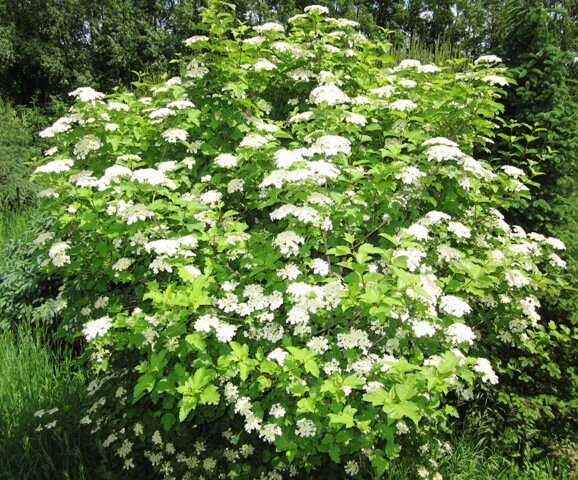
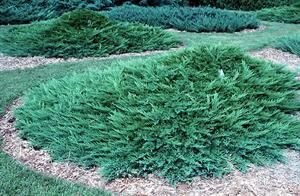
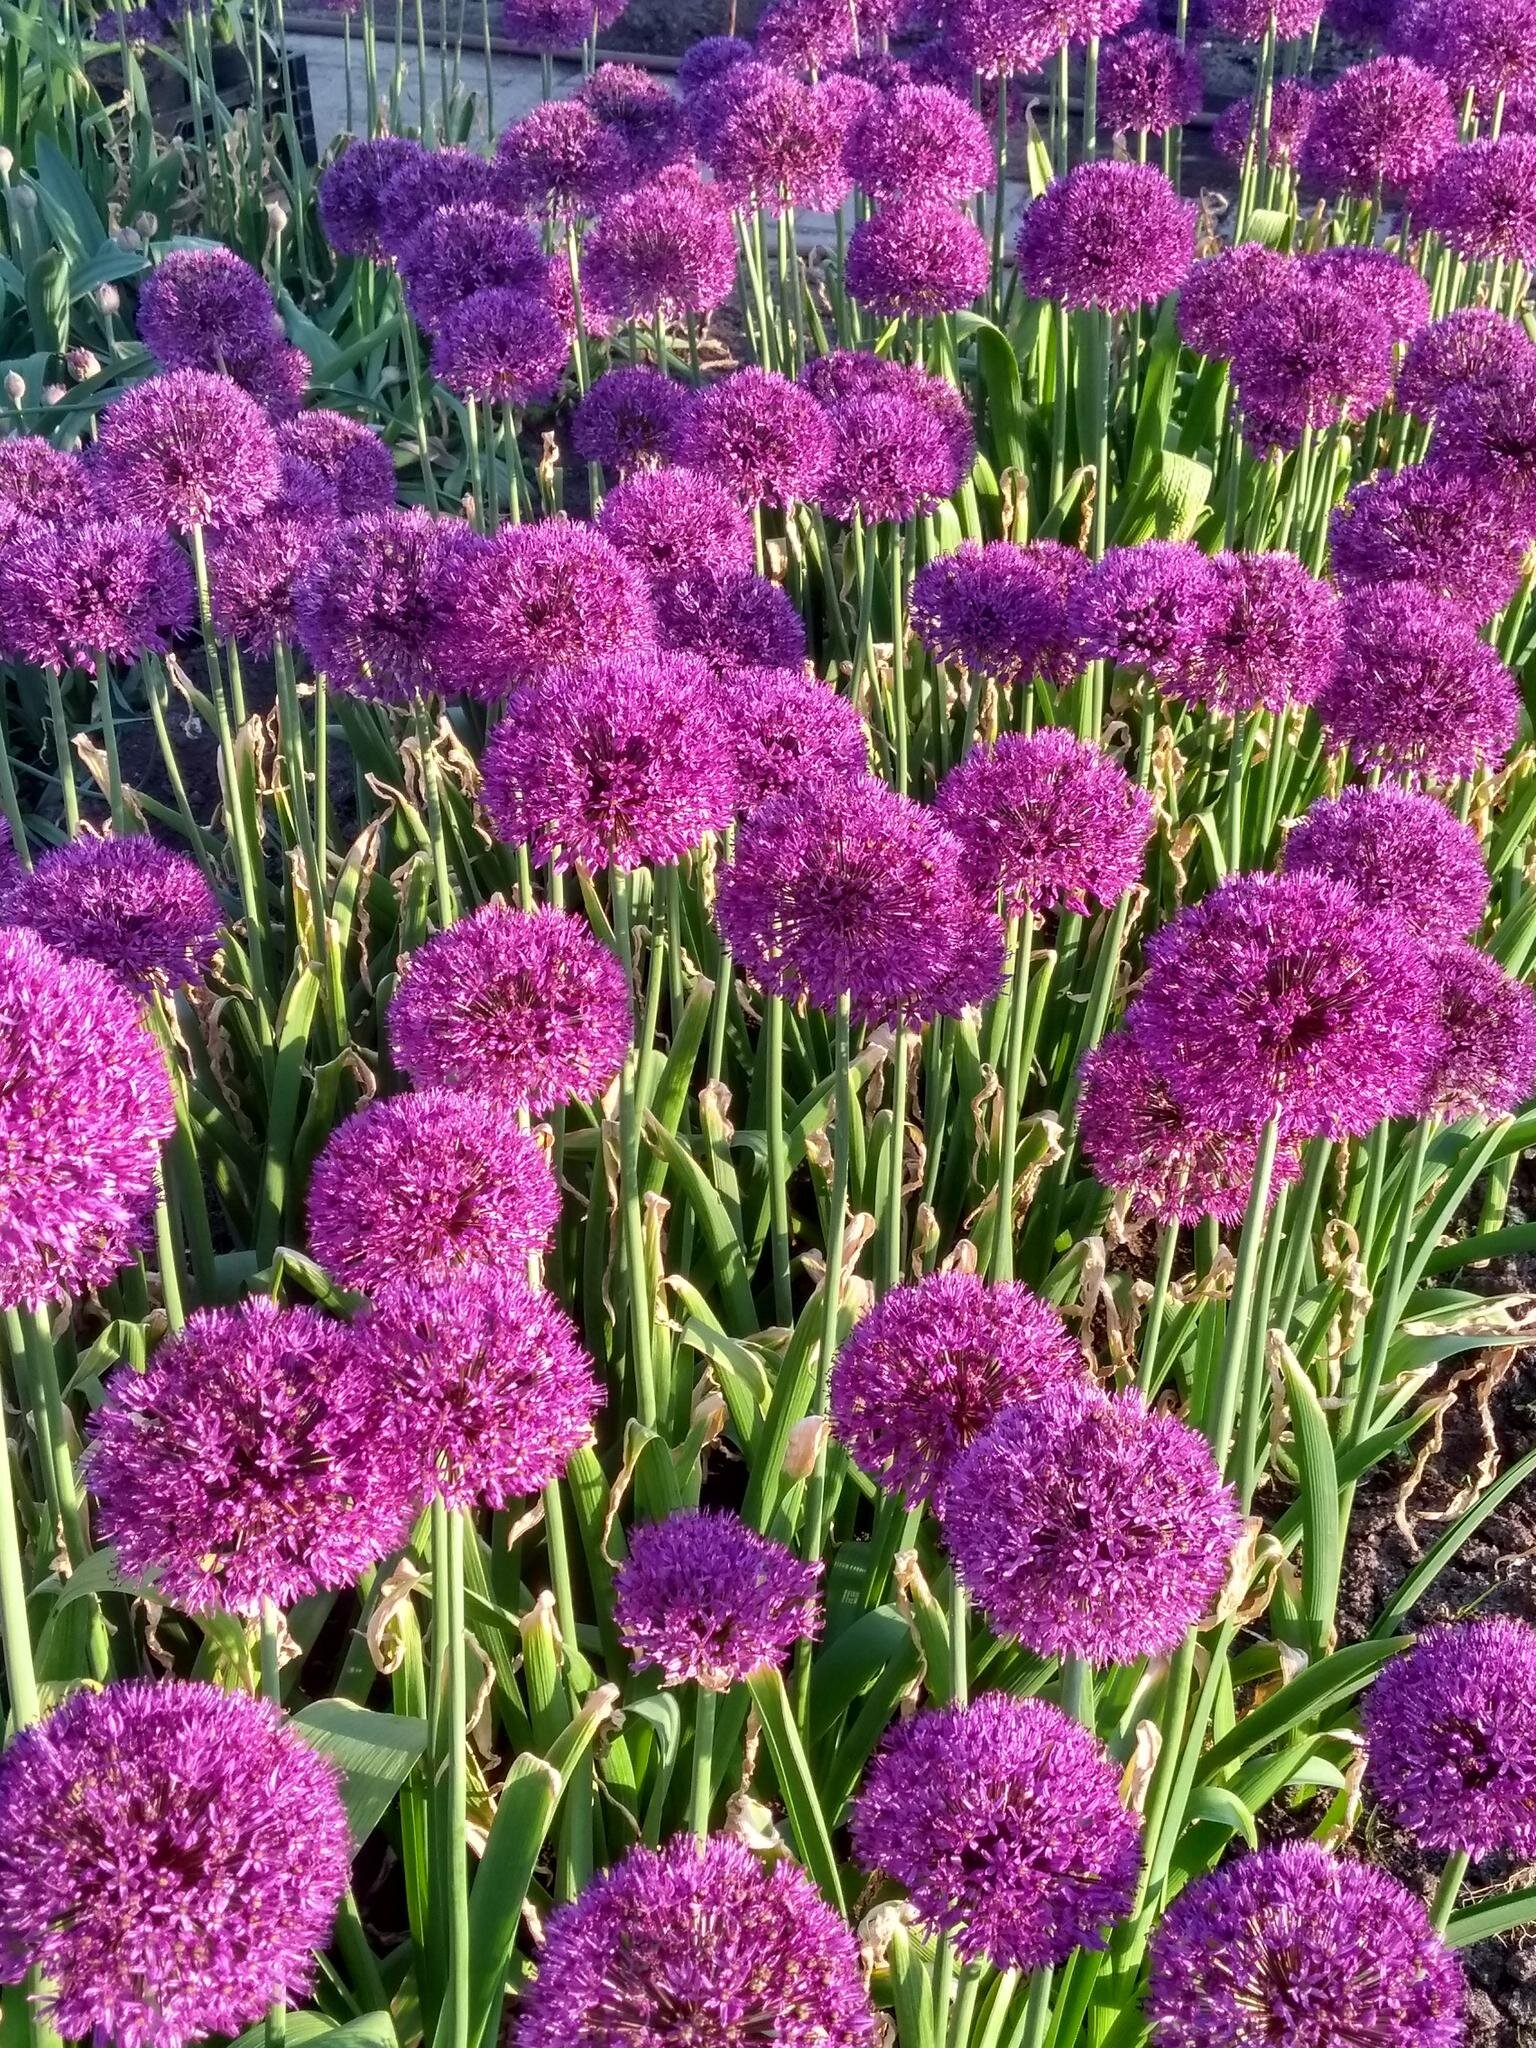
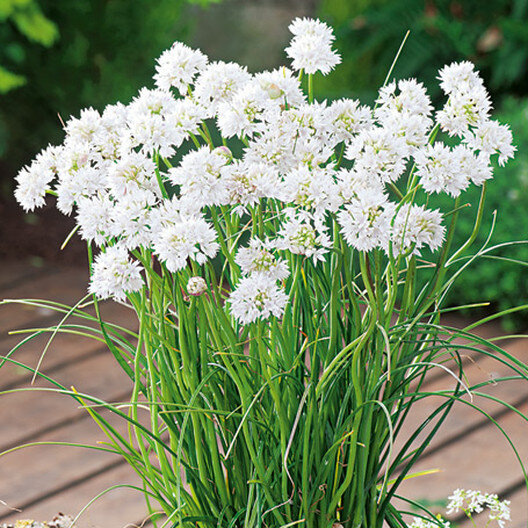
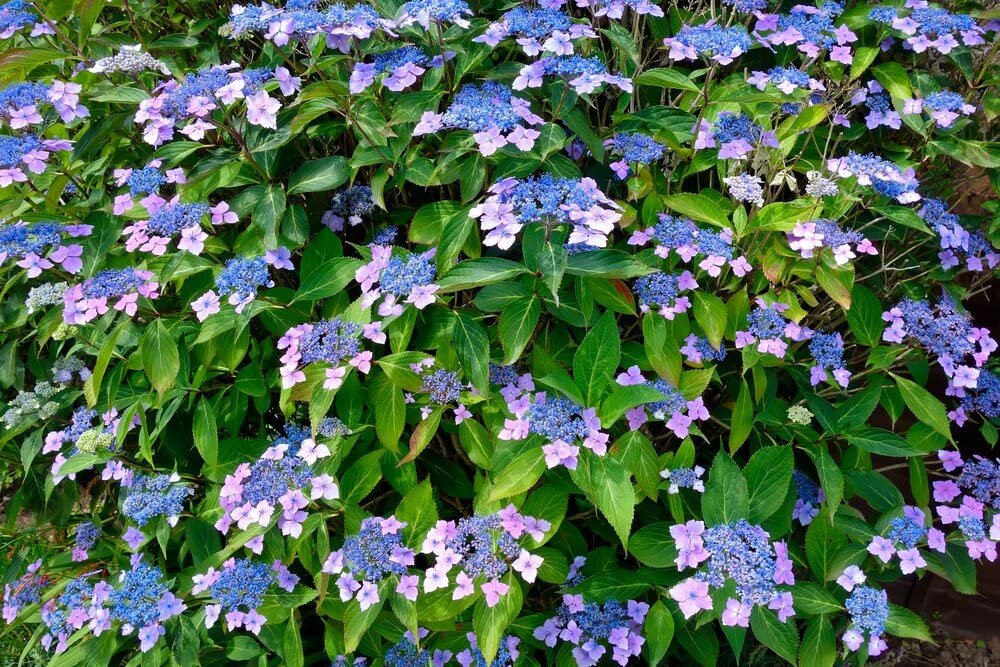
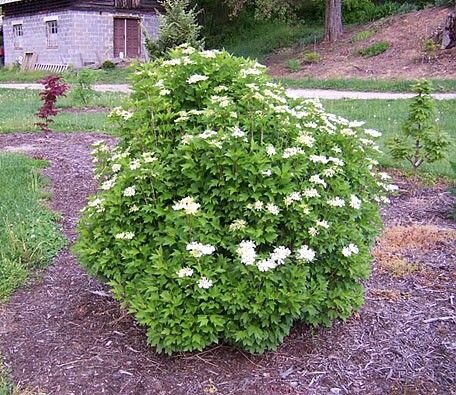
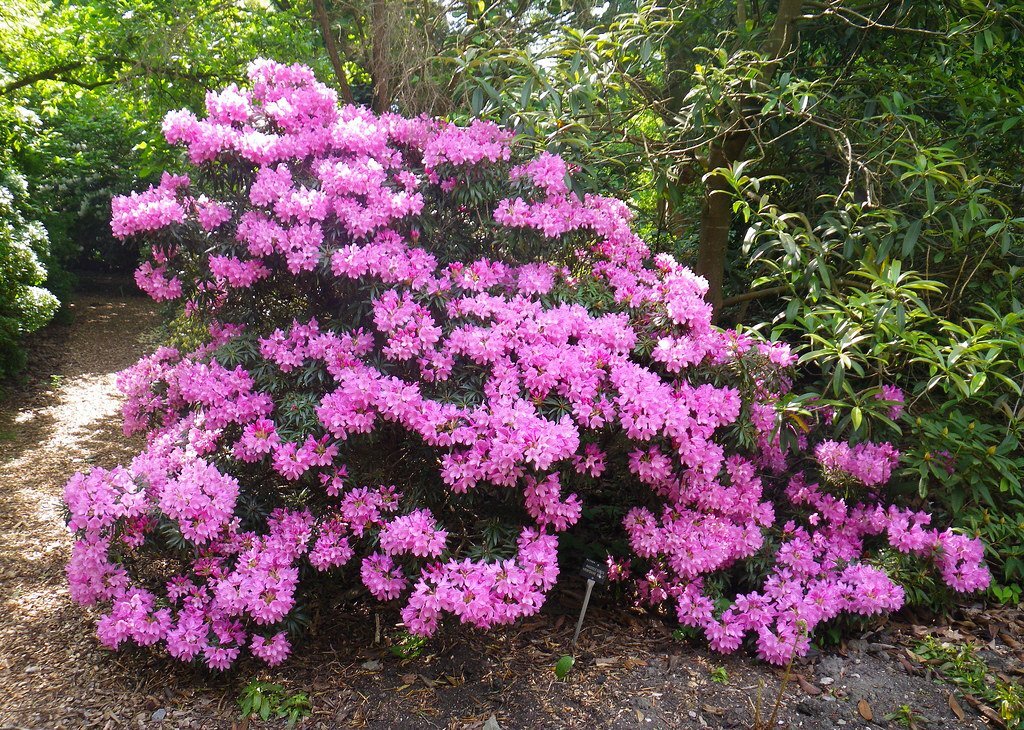
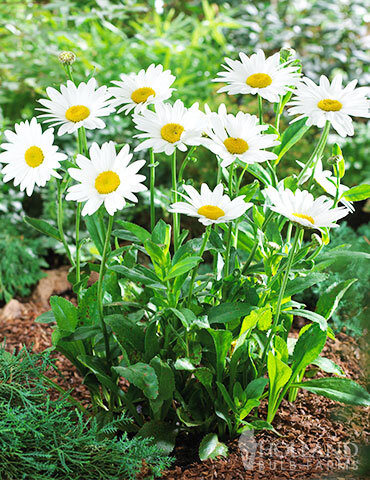
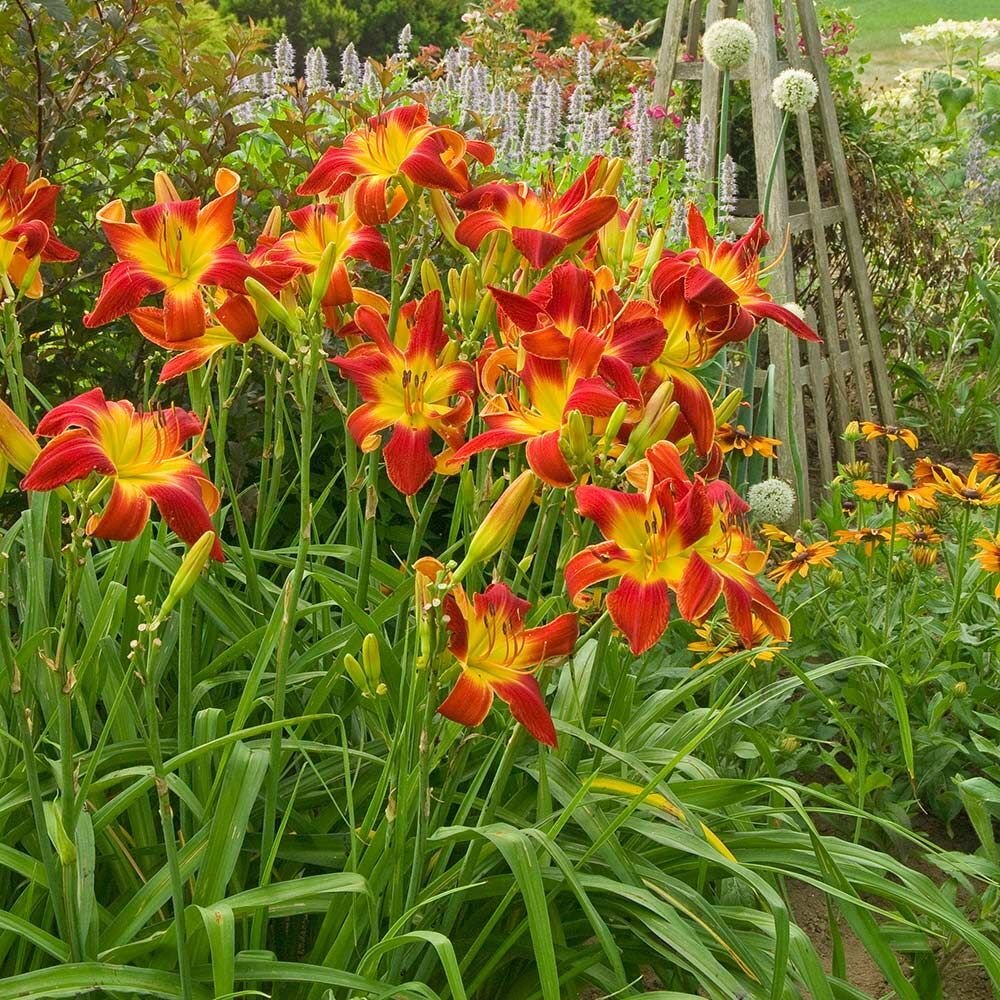
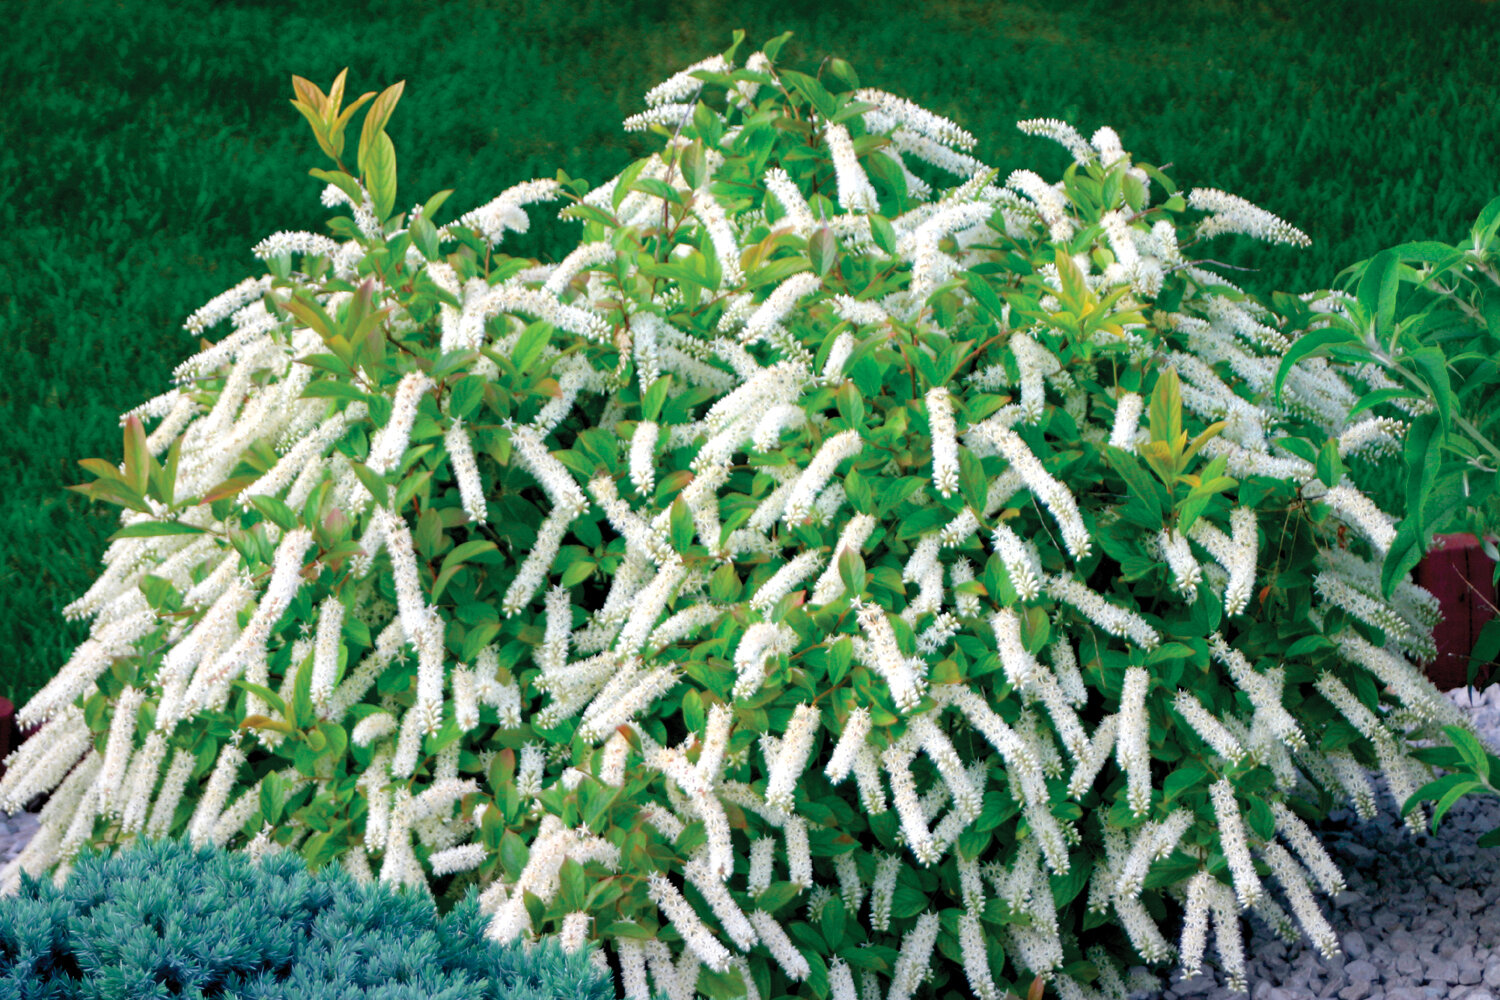
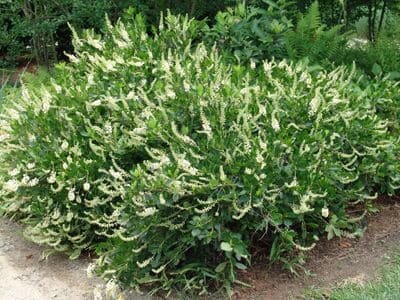
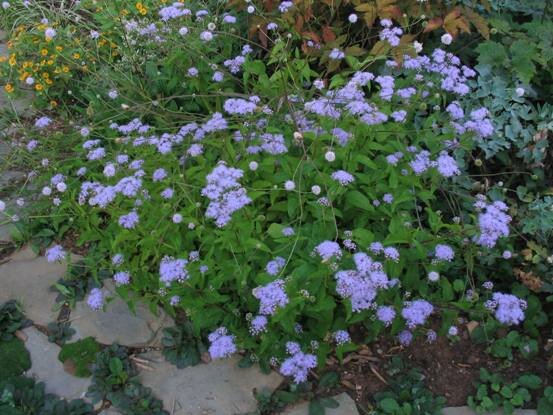
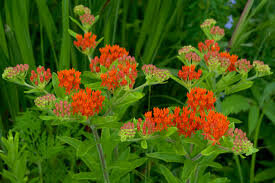
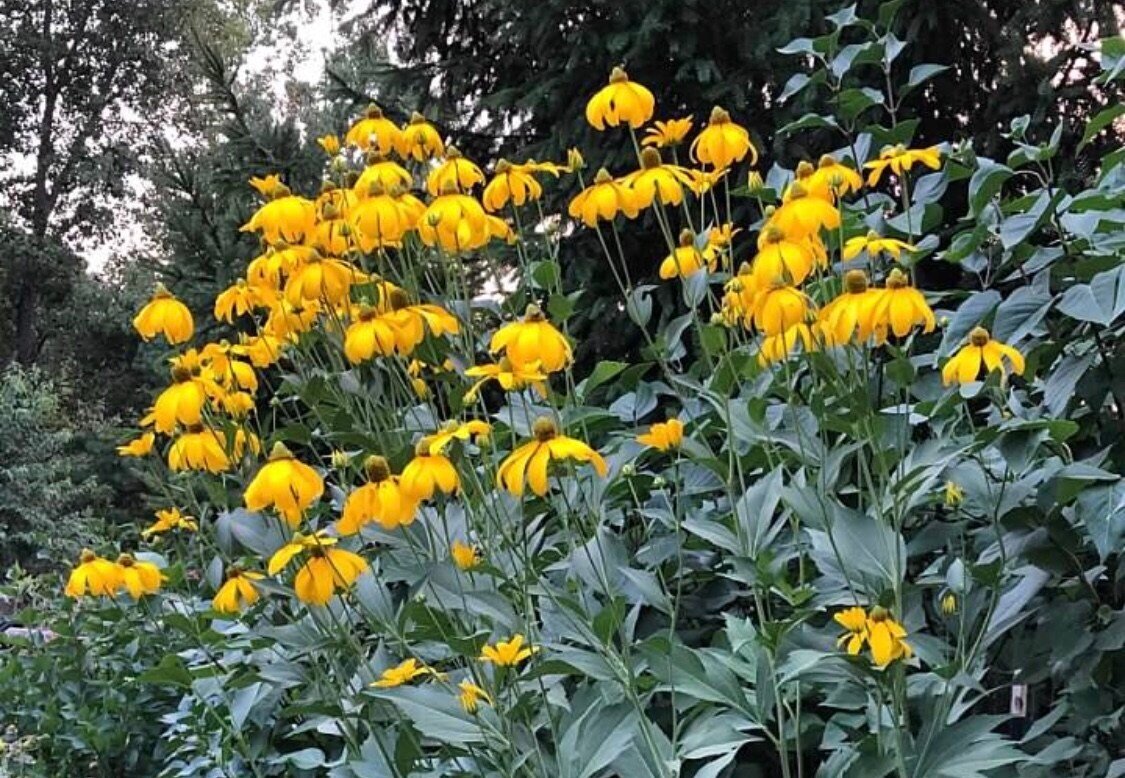
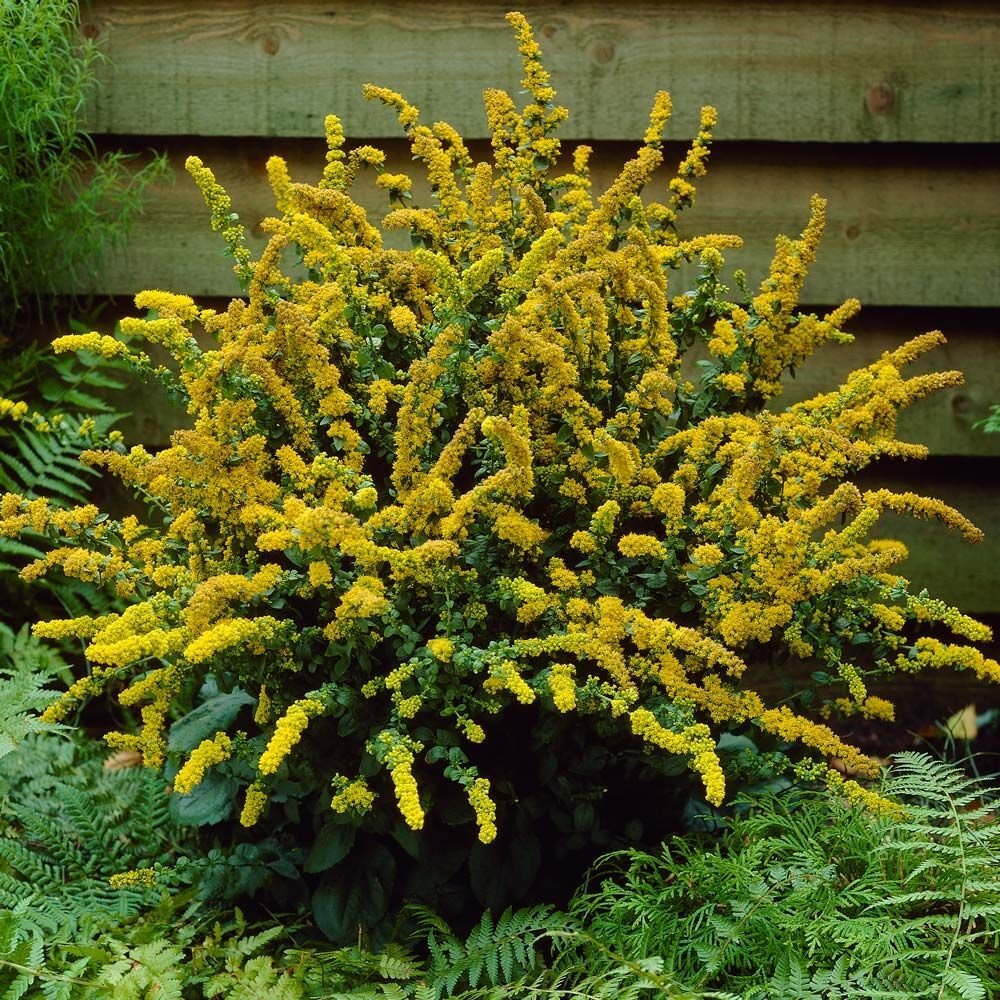
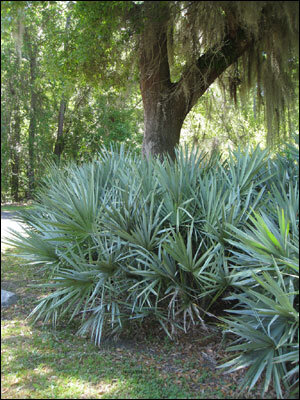
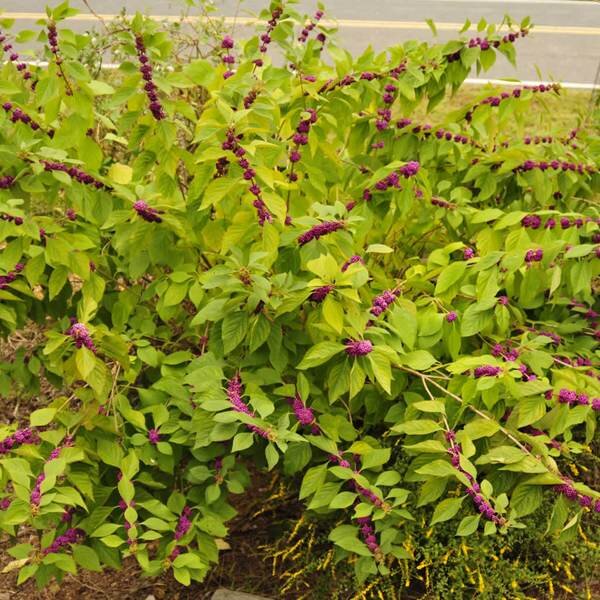
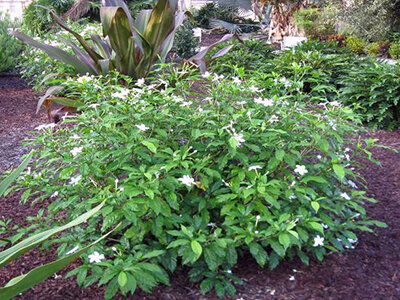
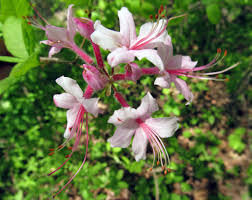
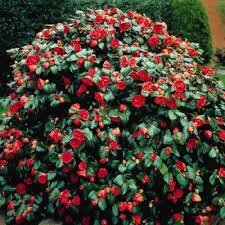
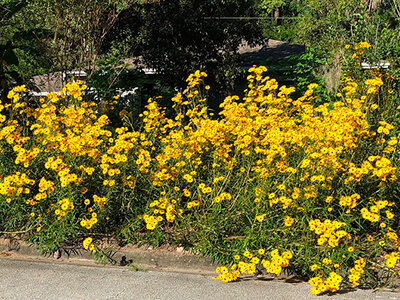
SHRUBS + PERENNIAL PLANTS
SHRUBS + PERENNIAL PLANTS
Shrubs + Perrenial Plants
GENERAL INFORMATION & REQUIRED DETAILS:
Use drought resistant, shade tolerant and low maintenance plants.
Use native species, do not use invasive species. See website for list of invasive species in your area.
If installing new plantings, obtain a minimum one-year warranty from the nursery or provider to replace or maintain if something happens to the plants.
Where possible, use perennials, not annuals. Annuals require more rigorous maintenance and should only be used in discrete locations.
Perennials are plants that bloom for a short time each year and do not need to be replanted every year. While most perennials last many years, it is also typical for them to be replaced every three to five years if they stop performing well. Use manufacturer or landscaper recommendations for perennials.
Annuals are plants that bloom for a longer season and need to be replanted every spring. These require more maintenance. Be selective about areas to plant them, such as in front of the management or leasing office.
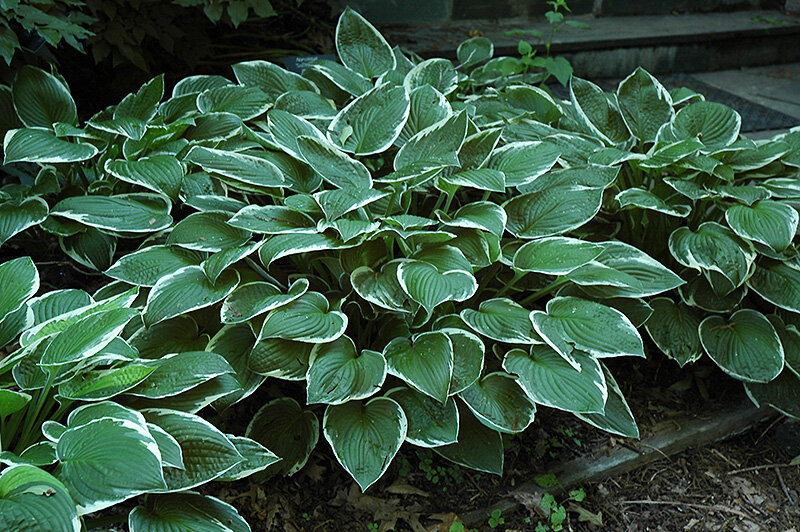
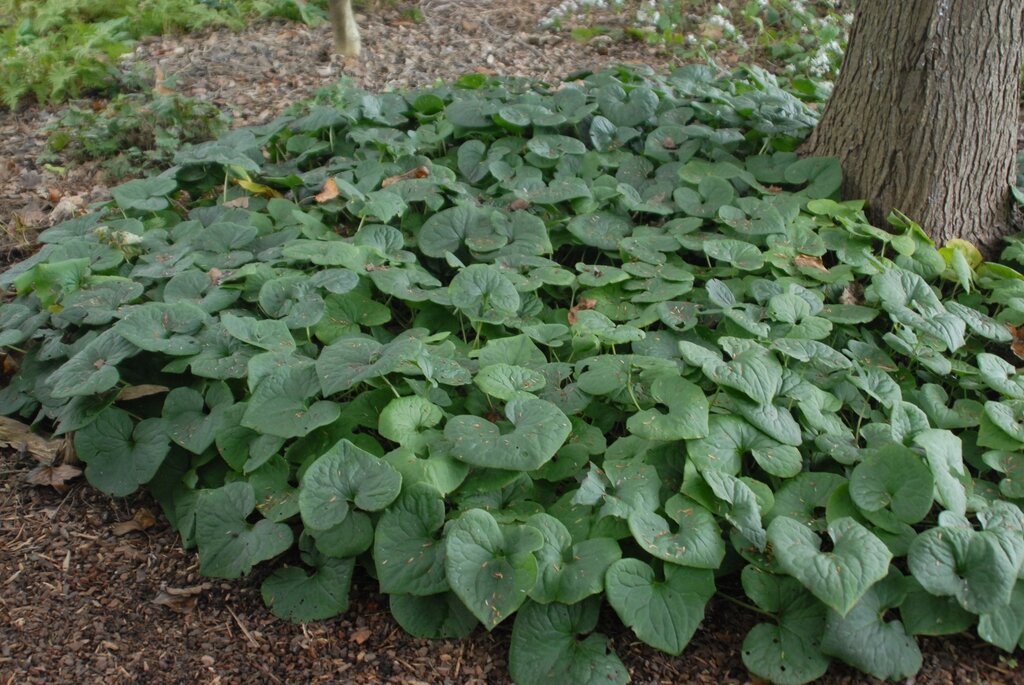
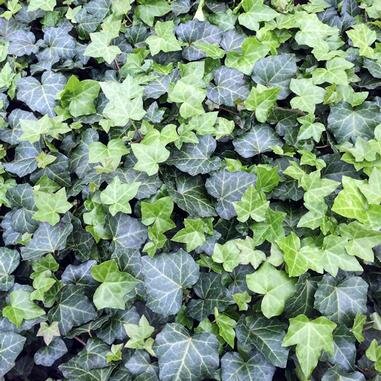
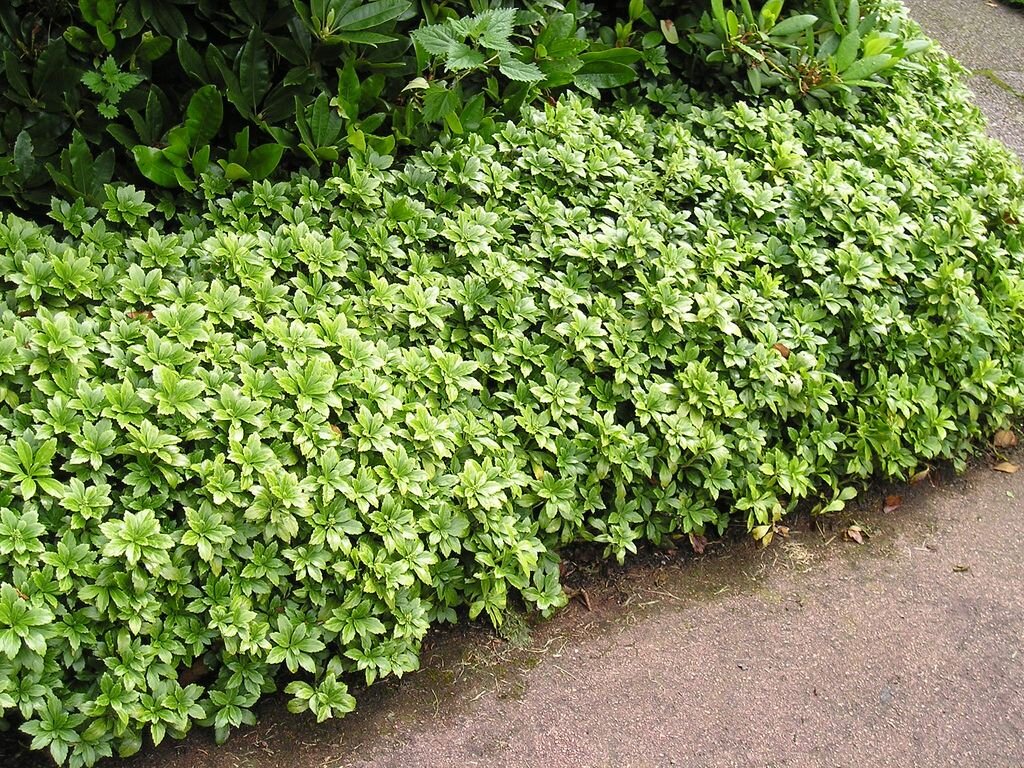
Consider groundcover as a low maintenance option in lieu of shrubs and flowering plants. Groundcover is defined as low-lying, creeping or spreading perennials which cover large ground sections.
Groundcover is suggested for areas such as planting beds, low or no traffic areas, near service areas, inside parking islands, shady areas, and steep slopes where grass will not grow well.
Groundcover should be kept 18 inches from building edge.
Spacing between groundcover plants will vary based on species but in general 12 - 24 inches apart will be sufficient. The objective is for neighboring plants to overlap enough to keep the ground shaded and discourage weed growth.
Consider the plant’s maximum width at maturity to determine the spacing.
Allow extra spacing for fast growing species, less spacing for slower species.
Be sure to use regionally appropriate species, as some are invasive or aggressive in certain areas and native in others.
Groundcover should be properly maintained so as to not become overly dense or protrude onto walkways, paths of travel, or parts of the building and other structures on site.
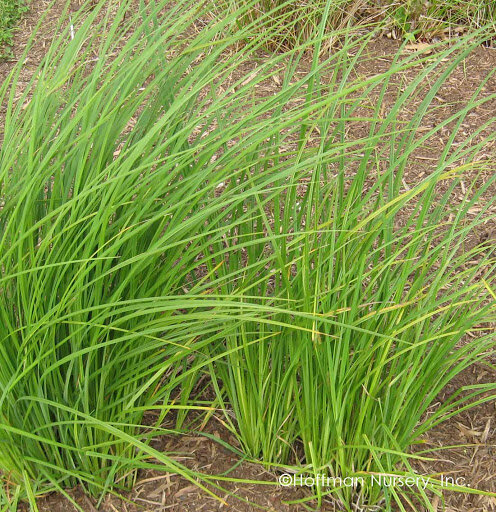
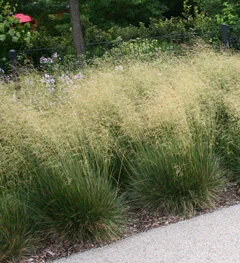
REGIONAL PLANT RECOMMENDATIONS
REGIONAL PLANT RECOMMENDATIONS
REGIONAL PLANT RECOMMENDATIONS
See website for a full list of native plants by region, see below for specific recommendations/suggestions. It is important to buy plants native to the region you are planting in. This allows plants to thrive, use less water and require less maintenance.
Midwest - Illinois, Kentucky, Michigan, Missouri, Ohio
Trees

Shrubs
Groundcover
Sod + Grasses (grass seed or sod may be provided as a mixture of these types or others)


Perennials

Northeast - Connecticut, Massachusetts, New Hampshire, Rhode Island
Trees

Shrubs
Groundcover

Sod + Grasses (grass seed or sod may be provided as a mixture of these types or others)

Perennials

Mid Atlantic - DC, Maryland
Trees


Shrubs
Groundcover
Sod + Grasses (grass seed or sod may be provided as a mixture of these types or others)


Perennials
Southeast - Florida
Trees

Shrubs
Groundcover
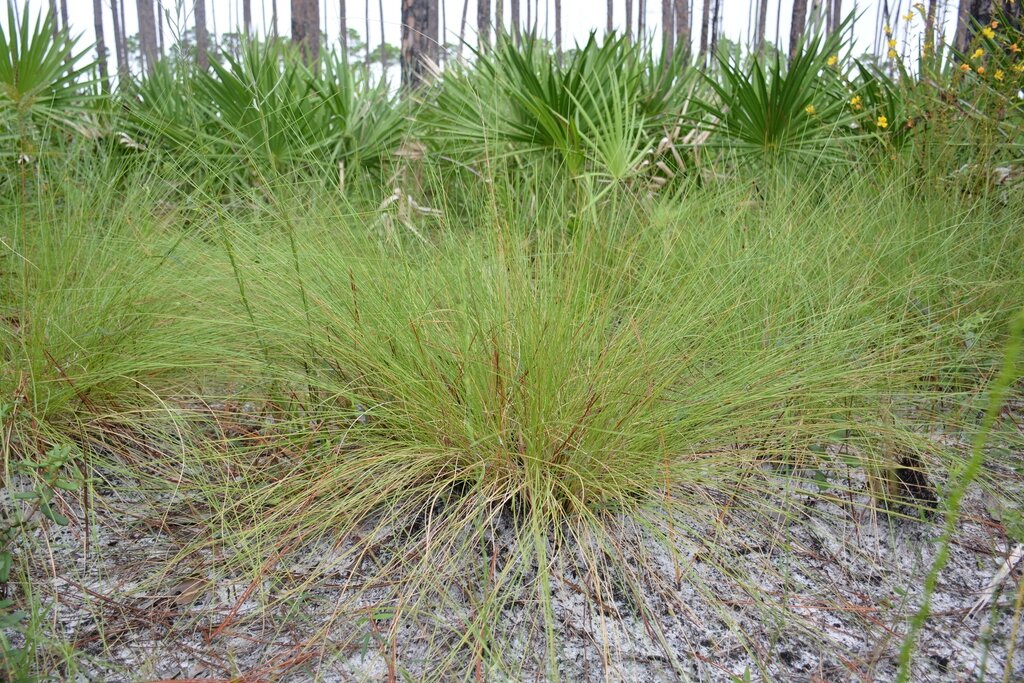
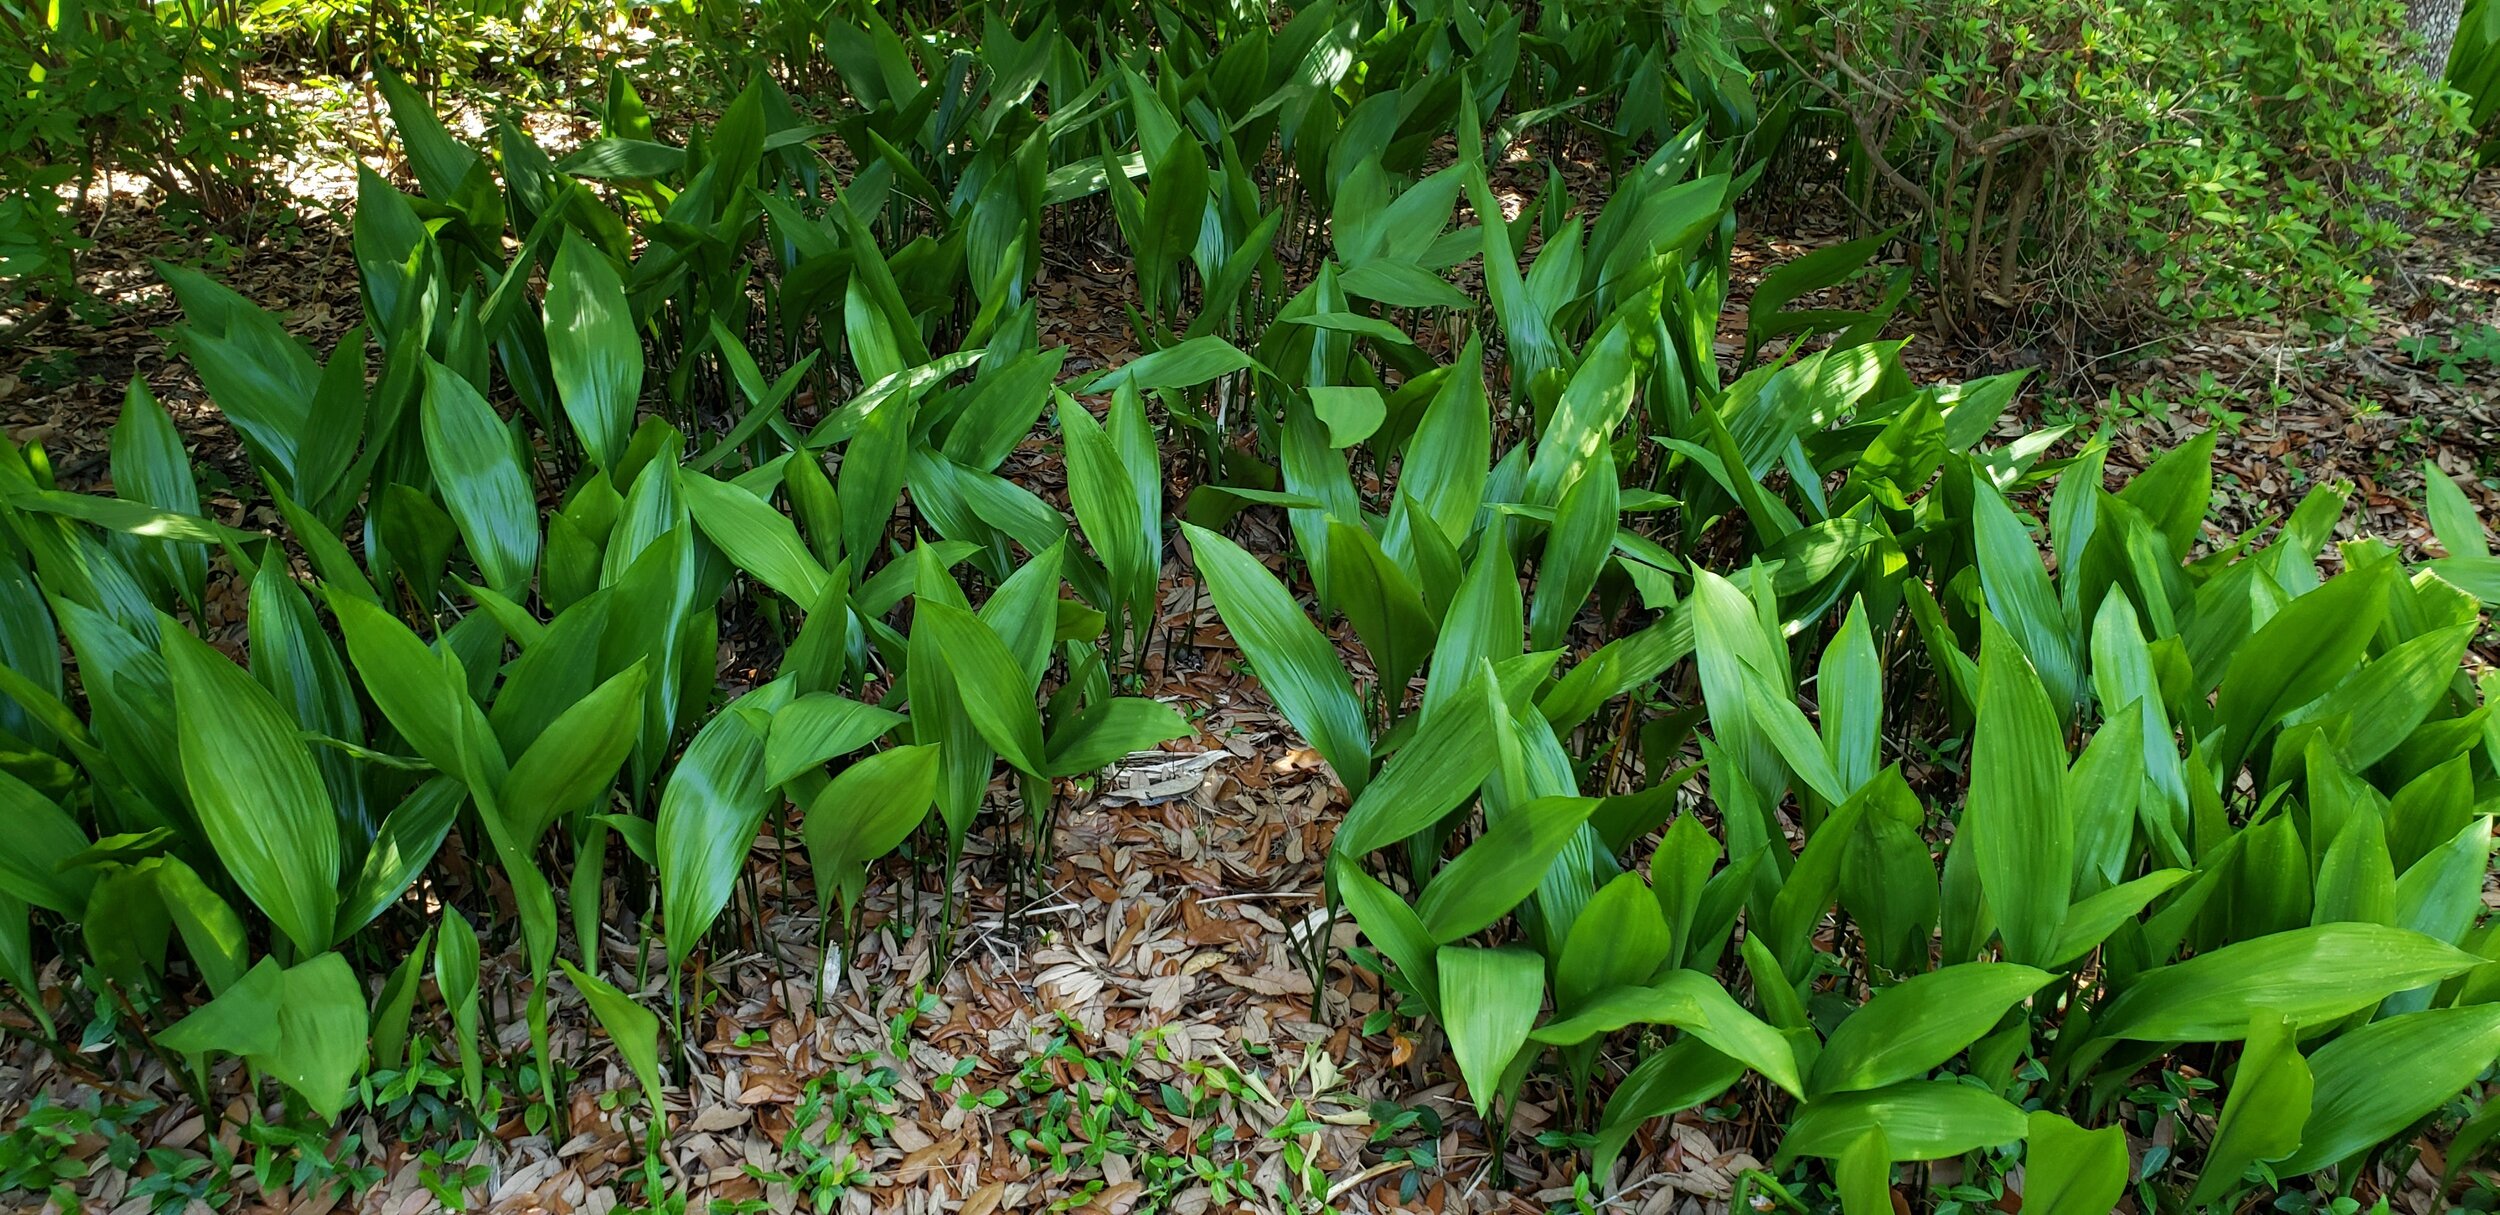
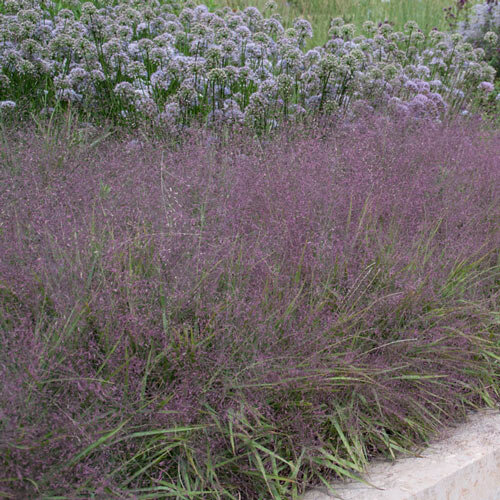
Sods + Grasses (grass seed or sod may be provided as a mixture of these types or others)

Perennials
MULCH
MULCH
MULCH

Regional single-processed brown hardwood mulch
GENERAL INFORMATION & REQUIRED DETAILS:

Plant bed with natural edge created by a spade
Product:
Use a regionally specific, single processed brown hardwood mulch.
Hardwood bark mulch is defined as at least 85% lignin (bark) and generally produced from the debarking of logs at a sawmill or papermill.
Mulch should pass chemical testing for CCA treated wood contaminants.
Do not use mulch that is dyed (ie red), or mulch that contains cypress, pine, recycled content or green waste.
Installation and maintenance:
When installing near trees:
Do not mound up near tree base.
Install a minimum 3 inches layer of hardwood bark mulch around all trees and in all planting areas. Create a natural spaded edge where planting beds meet turf.
When installing near the building edge:
Mulch should be kept 18 inches from building edge, and any other wood, vinyl or deck areas as a fire prevention measure.
Use non-combustible materials such as rock or pea stone in between building edge and mulch as well as around gas meters or other combustible portions of the structure.
Create and maintain a slope away from the building.
Do not install mulch near smoking receptacles or designated smoking areas.
To prevent deep smoldering, do not pile mulch layers more than 3 inches.
Landscape beds adjacent to walkways shall be graded to prevent wash out of mulch into walkways.
Metal edging is only required between crushed granite or gravel and sod/plants.
No edging is required for landscape beds adjacent to concrete drives, walkways or curbs. Landscape beds adjacent to walkways shall be graded to prevent wash out of mulch into walkways.
IRRIGATION
IRRIGATION
IRRIGATION
GENERAL INFORMATION & REQUIRED DETAILS:
If possible use plants that are drought resistant that won’t require an irrigation system.
Contact local water municipality to determine if your site can install a separate water meter (deduct meter) for your irrigation system. This will remove the sewer charge for the water consumption used by the irrigation system.
Consider using well water for the irrigation system. There will be upfront costs to dig the well and install the pump but it should have a quick payback. If a well exists at the site, review any documentation on the well capacity and pump performance. You will need the following:
the capacity of the well in gallons.
the gallons per minute (gpm) the pump can provide at a steady flow. (Not just the initial rate which is typically higher if there is accumulated water.)
If an irrigation system exists at your site or you are considering installing one, follow these guidelines:
Must include an irrigation controller with cycle and soak settings to prevent waste from runoff and over-watering.
Must include a sensor to automatically shut off during rain events. (Rain sensor will override any pre-programmed water schedule in the case of a weather event.)
Install a back-flow preventer per local code regulations.
Use Water Sense certified components (sprinkler heads, controllers, etc) whenever possible.
Consider using a drip irrigation system or soaker hoses in planter beds.
Minimize slopes in the landscape due to potential erosion and excessive runoff. If slopes are already present, use plants with deeper roots such as native ground covers and shrubs to stabilize and prevent erosion and unnecessary water waste from runoff.
To reduce watering demands, keep plants with similar needs near each other.
Set up a watering schedule with zones based on the plant type and their recommended water schedule. Periodically test effectiveness of water schedule.
Installing high efficiency sprinkler heads and reduced pipe diameters for the irrigation lines increase the efficiency and reduce water consumption.
Space sprinkler head bodies for proper head-to-head coverage to avoid dry patches or large areas of overlap.
Make sure sprinklers are not positioned to spray onto non-landscaped areas such as sidewalks or parking lots.
To prevent over spray and runoff, above ground irrigation is not appropriate within 24” of any non-permeable surface.
Avoid watering too close to obstructions such as light poles, fences signs, etc.
Set sprinklers to water early in the morning (before sunrise) to prevent high evaporation rates.
Use sprinkler heads that regulate the pressure so it won’t cause overuse through misting, fogging or uneven coverage.
Replace sprinkler heads that operate at or above 60psi with Water Sense spray sprinklers to save water use.
Always use sprinkler heads with flexible connections.
At sites where clay soil is predominant (dense and absorbs water slowly), implement a low flow watering schedule.
Preventative maintenance:
Once a month run your system manually to check for leaks or breaks.
Adjust the water schedule based on plant type, soil type, sun exposure, site grading, climate, and the change in season to maintain efficiency.
Require a full audit of the irrigation system every 3 years to ensure it continues to perform efficiency.
In climate zones experiencing freeze cycles, winterize the irrigation system:
Drain the system to prevent pipes from freezing.
Blow out the lines with compressed air.
RECOMMENDED PRODUCTS:

Hunter
Pro-C Irrigation Controller
optional Solar Sync feature for WaterSense certification
rain/ freeze sensor compatible

Rain Bird
WR2-48 Series Wireless Rain/Freeze Sensors
SIDEWALK
SIDEWALK
SIDEWALK
GENERAL INFORMATION & REQUIRED DETAILS:
Concrete is the preferred material for all sidewalks due to light color and durability. To properly maintain and make effective repairs, constantly inspect for cracks, spalling or large changes in elevation.
Concrete should be placed over a 12 inch bed of gravel to minimize heaving during freeze/thaw cycles.
Avoid deicers with salt on concrete, especially new concrete as it will cause pits to form on the surface.

PARKING
PARKING
PARKING
GENERAL INFORMATION & REQUIRED DETAILS:
Asphalt is typically the most prevalent parking area material. Other options for parking areas are pervious pavers or pervious asphalt. These should be considered when installing new parking and/or the parking area contributes to stormwater management at the site. To properly maintain and make effective repairs, constantly inspect for cracks, sinking, potholes and other large changes in elevation.
Pervious asphalt contributes to onsite stormwater management by allowing the water to slowly infiltrate into the subgrade and groundwater supply, reducing the demand on the sewer system. It can also help improve the water quality since contaminants are filtered as the water infiltrates into the subgrade.
During construction, take measures to prevent stone reservoir and pavement from getting clogged with runoff and construction dust/materials.
Preventative maintenance for pervious asphalt includes:
Inspect infiltration rates annually during rain storms to make sure the asphalt is still effective.
Vacuum or power wash (for silt/sand/fine materials) as needed, no less than once a year.
Never sealcoat or crack seal to patch like regular asphalt.
Winter maintenance includes:
There are no special requirements for plowing.
This asphalt reduces the need for deicers since water can drain quickly through when it storms.
Never use sand on pervious asphalt. It clogs the surface and prevents infiltration.

ICE MELT + DEICERS
ICE MELT + DEICERS
ICE MELT + DEICERS
GENERAL INFORMATION AND REQUIRED DETAILS:
When selecting an ice melt (deicing product) consider the following:
Select products where the main ingredient is calcium chloride (CaCl) or magnesium chloride (MgCl). These ingredients are the least damaging to concrete and landscape.
Products should be effective at temperatures below 0˚F.
Products containing mostly rock salt (NaCl) or any amount of urea (carbonyl diamide) or glycols should never be used.
Pet friendly deicer products are available for sites with many pets.
Careful practices when applying the product should be followed in order to maximize effectiveness and minimize waste:
Some products are designed specifically for larger areas, like a parking lot, while others are more effective for smaller walkways. Site staff should coordinate with any outside contractors they may use for parking areas to ensure the proper product is being used.
Except in cases where permeable pavers or pervious asphalt are present, use sand in addition to the product to improve traction.
Clear product quickly after storm ends and ice melts to prevent damage to plants or landscaping. Do not sweep or shovel remaining product into planter beds.
Use of mechanical spreaders allows for greater accuracy and less waste during application.
SAMPLE PRODUCT:

Road Runner Blended Ice Melt
MgCl + CaCL blend
50 lbs bag
BIKE RACKS + SHELTERS
BIKE RACKS + SHELTERS
BIKE RACKS + SHELTERS
GENERAL INFORMATION AND REQUIRED DETAILS:
Most cities have codes that dictate the quantity and configuration (sheltered, stacked, racking, etc) of bike parking.
All new construction should follow the code.
For discrete rack installations consider a shelter to provide cover if outdoors and provide a rack that allows the bike to be locked in at least two points.
DUMPSTER ENCLOSURES
DUMPSTER ENCLOSURES
DUMPSTER CORRALS
GENERAL INFORMATION & REQUIRED DETAILS:
All dumpsters should be located in an enclosure.
Use CMU, chain link fence, or steel structure with fencing material for the enclosure. Do not use wood.
Enclosure walls should be a minimum of 1 foot higher than dumpster heights.
If multiple containers are in one enclosure, they should be spaced a min of 36 inches from each other. In addition, all containers should be a min of 12 inches from enclosure walls.
Include a visual buffer such as landscaping or screening if enclosure area is visible from the public right of way or street.
If dumpsters are used by tenants, they need to include a safe and accessible route to the dumpster enclosure area, so that no resident is required to travel more than 250 feet to reach it. This distance is reduced to 150 feet if accessed by residents at a senior building. It may be necessary to add an out-swinging man gate so that residents can access the dumpster.
If dumpsters are only accessed by site staff, they should include a locked gate only to be unlocked for staff access or on collection days.
If a gate is included as part of the enclosure:
The gates need to open at an angle wider than 90 degrees, preferably 120 degrees.
Provide a hold-open to keep gates open when the dumpster is being unloaded during collection.
All enclosures should include a reinforced concrete pad. The pad should be the full size of the enclosure and extend in front of the enclosure by at least half the depth of the enclosure pad.
The pad surface cannot have a slope in any direction greater than 2%.
A minimum height clearance of 25 feet above the enclosure is required.
A turning radius of 45’ is needed near the enclosure so the collection truck can drive forward to access the dumpster, turn and exit the area moving forward, not backing up.

DESIGNATED SMOKING AREAS
DESIGNATED SMOKING AREAS
DESIGNATED SMOKING AREAS
GENERAL INFORMATION & REQUIRED DETAILS:
Any smoking shelter or designated smoking area needs to be at least 25 feet from the main building and entry points.
The smoking shelters needs to follow ADA guidelines and include an accessible walkway or ramp as necessary.
The structure should be partially enclosed with cover from the elements, adequate lighting and some sort of seating option.
The shelter should include proper cigarette disposals containers.
The structure needs to be at least 18 inches from any mulch or landscaped area.
Follow all manufacturer’s instructions for any installation and assembly on site.
SAMPLE PRODUCTS:
These sample products are not required to be used in new construction projects as long as the specified product(s) complies with the criteria noted above.

Alpine Industries
Black Steel Wall-Mounted Cigarette Disposal
Note: Install disposal on shelter structure, not building wall

Global Industrial
Outdoor Smoking Shelter